
Installation planning
Outdoor Battery Cabinet Installation Requirements: Space, Foundation and Site Checklist
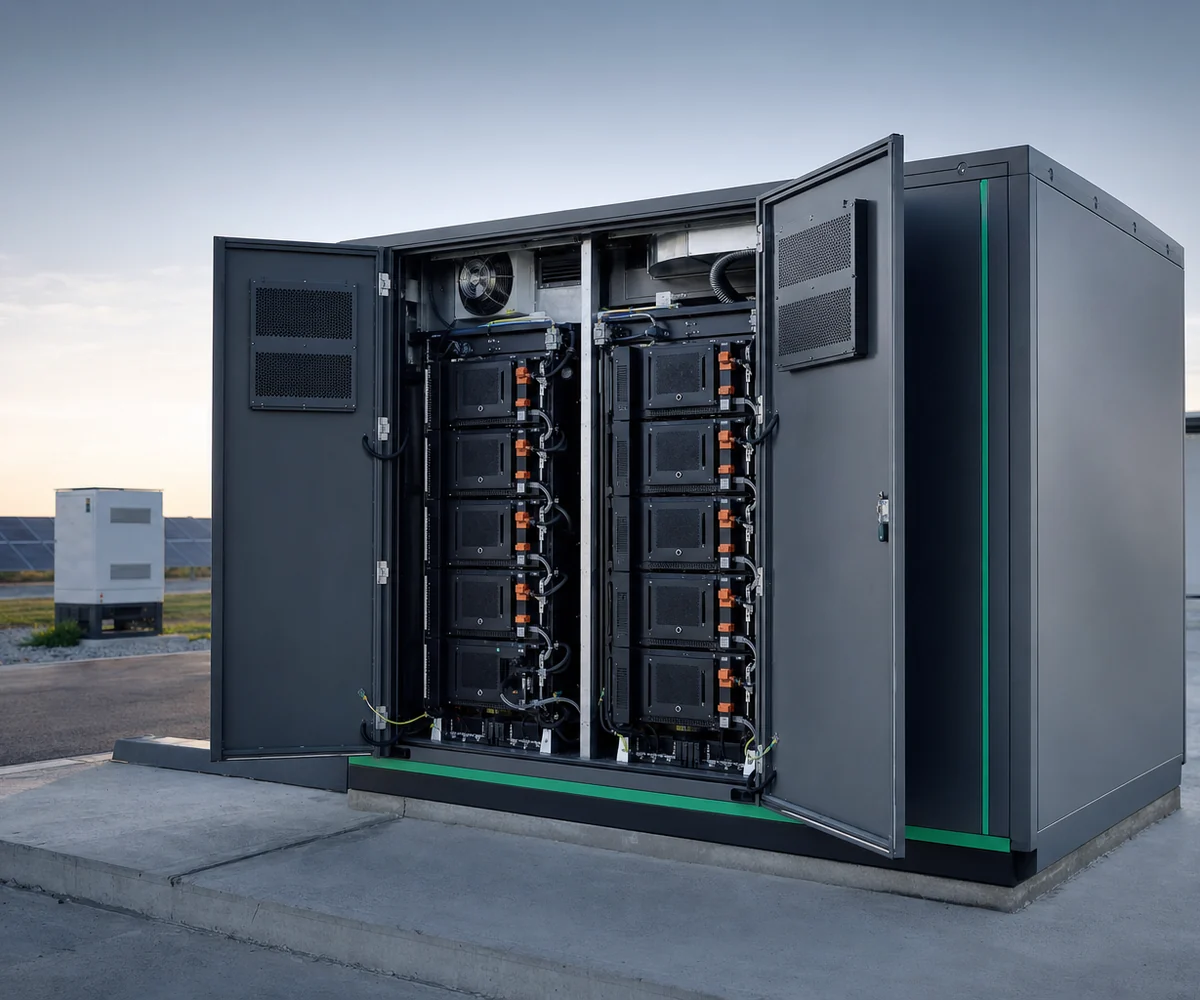
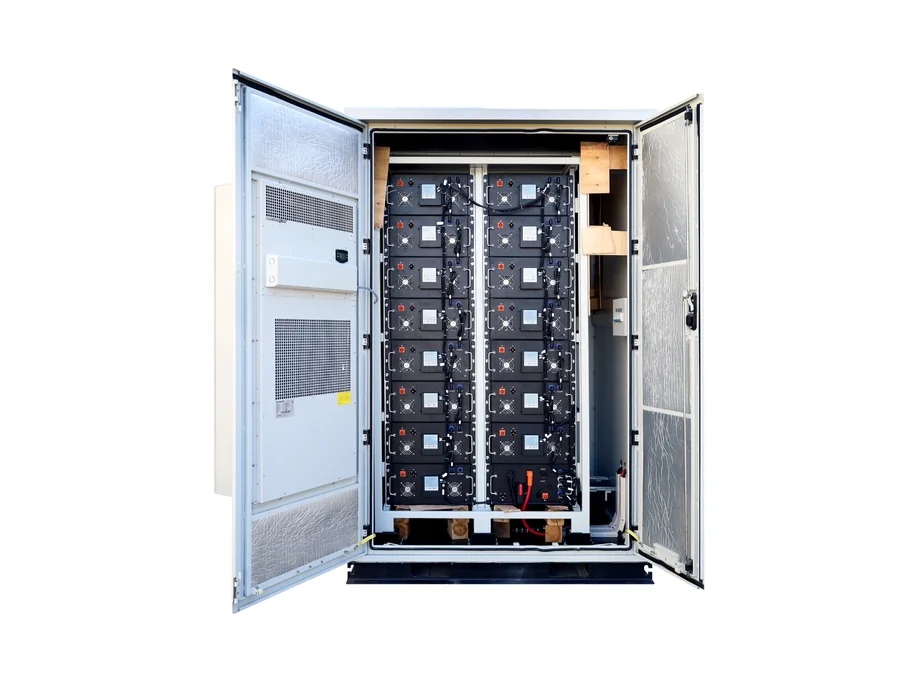
Outdoor battery cabinet installation succeeds or fails on site preparation: the space envelope, foundation, drainage, climate, lifting route, cable entry and safety interfaces must be ready before the cabinet arrives.
The short answer
An outdoor battery cabinet needs a level, load-rated and drained foundation; a layout based on the full equipment envelope plus service, door-swing and fire-separation space; a site climate inside the documented temperature, humidity, altitude and corrosion limits; a clear lifting and delivery route; and prepared cable entry, earthing, auxiliary power, communications and safety interfaces. Clearance and separation values must come from the manufacturer installation manual and the applicable local code, not from a generic rule. Verify each item before delivery so the cabinet can be placed, connected and commissioned without rework.
Step 01 · Space
Plan the layout from the envelope, not the base
The base footprint is only where the cabinet stands. The layout must also include lifting lugs, external fire-water or cable details, door swing, maintenance working space, separation to buildings and other equipment, and a route for service personnel. Published product data often gives both values; use the larger interface envelope in the drawing.
| Documented cabinet | Base enclosure | Interface envelope | Approx. weight |
|---|---|---|---|
| 105 kW / 233 kWh | 1000 x 1400 x 2415 mm | 1000 x 1470 x 2565 mm | 2.7 t |
| 125 kW / 261.2 kWh | 1000 x 1400 x 2415 mm | 1000 x 1470 x 2565 mm | 2.7 t |
| 250 kW / 522.5 kWh | 1940 x 1504 x 2555 mm | 1940 x 1574 x 2705 mm | 5.4 t |
Values are screening references from published StorageCabinetPro product data. Service clearance, door swing and separation distances are not included and must be taken from the approved installation manual, drawings and local requirements.
Open every door
Draw the full door swing and the working space needed to replace modules, HVAC parts and fire-system components.
Respect fire and code distances
Confirm spacing to buildings, openings, property lines, other cabinets and combustible materials with the authority having jurisdiction.
Keep an exit route
Maintain clear access for operators, emergency responders and future replacement equipment.
Step 02 · Foundation
Design the foundation for weight, level and water
A cabinet that weighs several tonnes must sit on a surface designed for its load and anchoring method. The foundation also controls water: standing water around the base, splash-back and flooding are common causes of corrosion and access problems.
Use the datasheet weight
Design the slab or plinth for the approved weight, anchoring loads, soil condition and any seismic or wind requirement at the site.
Control flatness
Specify the levelness tolerance required by the supplier so doors seal, racks align and anchors can be fitted without shimming guesses.
Keep water away from the base
Raise the plinth above local flood and snow levels, slope the surrounding area and keep cable trenches from becoming water channels.
Follow the fixing drawing
Cast-in or post-installed anchors, embedded channels and cable openings must match the supplier interface drawing before concrete is poured.
Step 03 · Environment
Check the site against the documented limits
Outdoor rating does not mean any outdoor location. Compare the site climate with the cabinet data and ask the supplier to confirm derating or additional protection where the site approaches a limit.
| Condition | Documented cabinet reference | Site question |
|---|---|---|
| Enclosure | IP54; C3 corrosion protection | Is the site coastal, industrial, dusty or exposed to chemicals that require a higher corrosion class? |
| Temperature | -20 °C to 55 °C operating | What are the design minimum and maximum, including solar load on the enclosure? |
| Humidity | 0–95%, non-condensing | Is condensation likely during temperature swings or long idle periods? |
| Altitude | Up to 3000 m, with derating review above 2000 m for the documented cabinets | What is the site altitude, and has the supplier confirmed power and cooling derating? |
Cooling capacity is often the first limit reached in hot, sunny sites. Use the outdoor cabinet cooling and HVAC checklist to review the thermal assumptions before finalizing orientation and shading.
Step 04 · Delivery
Prove the lifting and delivery route
Before the vehicle arrives, confirm that the cabinet can reach its final position. Check road access, gate width, turning radius, ground bearing for the crane or forklift, overhead lines and the lifting points specified by the supplier. Plan who supplies the lifting equipment, rigging and certified operator.
Survey the path
Measure gates, slopes, bends and overhead obstructions against the transport dimensions.
Use the approved method
Follow the supplier lifting drawing, centre of gravity and permitted lifting points; do not improvise lifting from doors or frames.
Inspect before placing
Record condition and serials using the post-shipment inspection checklist before final placement.
Step 05 · Connections
Prepare cables, earthing and control interfaces
Most delays after placement come from connections that were never fully specified. Agree the cable entry position, gland sizes, earthing point and every control signal before the foundation and trenches are built.
| Interface | Prepare before installation | Evidence |
|---|---|---|
| AC power | Cable size, route, termination, upstream protection and transformer or switchgear readiness. | SLD, cable schedule and protection settings. |
| Earthing | Earth electrode or grid connection, bonding conductor and test result. | Earthing design and test record. |
| Auxiliary supply | Supply for HVAC, controls and lighting where the design requires it. | Auxiliary load list and circuit schedule. |
| Communications | Network route, meter and CT connections, EMS or SCADA protocol and remote access method. | Point list, network drawing and access plan. |
| Safety signals | Emergency stop, fire-alarm and site alarm interfaces. | Interface list and functional test plan. |
The C&I ESS site survey checklist collects these inputs before quotation; this installation checklist confirms they are physically ready on site.
Step 06 · Readiness
Close the pre-energization checklist
Energization should be a controlled gate, not the next step after the last cable is tightened. Confirm that each item has an owner and a record before the commissioning engineer starts.
Placement complete
Cabinet anchored, level, sealed at cable entries and free of transport damage or open exceptions.
Connections tested
Terminations, insulation, earthing and protection checks completed and recorded.
Interfaces verified
Emergency stop, fire and alarm signals, signage, access control and extinguisher access in place.
Permits and procedure ready
Local approvals obtained and the approved commissioning procedure, settings and test plan issued.
For the full design and delivery sequence, see the BESS engineering process. For cabinet scope and selection, compare the outdoor battery storage cabinet guide.
Installation questions
Frequently asked questions
How much space does an outdoor battery cabinet need?
Start from the equipment envelope rather than the base footprint, then add the service clearance, door swing, maintenance access, fire separation and cable routing required by the manufacturer installation manual and local code. For example, the documented 105 kW / 233 kWh cabinet has a 1000 x 1400 mm base but a 1000 x 1470 x 2565 mm interface envelope, and the final layout must still add access and separation space.
What foundation does an outdoor battery cabinet need?
A level, load-rated concrete foundation or plinth designed for the cabinet weight, anchoring method, soil condition, drainage and local flood level. Documented cabinet weights range from approximately 2.7 t to 5.4 t, so the foundation design should use the approved datasheet weight and the supplier anchoring drawing.
Can an outdoor battery cabinet be installed in direct sunlight?
It can be installed outdoors within its documented environmental limits, but solar load raises enclosure temperature and cooling demand. Check the ambient range, cooling capacity, derating assumptions and whether shading or orientation is recommended in the installation manual.
What must be ready before energizing an outdoor battery cabinet?
The foundation and anchoring, earthing, AC and auxiliary cabling, communication and meter connections, emergency stop and fire-alarm interfaces, protection settings, access and signage, permits and the approved commissioning procedure. Any damage or exception from delivery must be closed first.
Which standards govern battery cabinet installation clearance?
Installation clearances and separation distances are set by the manufacturer instructions and the applicable local code and authority having jurisdiction. Examples include NFPA 855 in the United States and IEC 62933-5-2 for safety of grid-integrated battery energy storage systems; confirm which rules apply to the specific site.
Prepare the site, then place the cabinet.
Space, foundation, climate, lifting, connections and safety interfaces should be ready before delivery day.